Show-Me-Geology is scheduled at SDSU for Friday mornings and a visit consists of three separate units lasting 50 minutes each. We ask for a $2/student donation to help support the program. The program is geared for 4th graders and is aligned with Next Generation Science Standards. The optimal number of kids is about 60 – but we do handle smaller groups (e.g. homeschoolers) or single classes. Larger groups up to 90 kids are possible – but the students don’t get as much hands-on experience. It’s possible to picnic lunch on campus after the program ends. Attentive parent/chaperones are encouraged to attend.
Students get the most from this program if the visit is coordinated with classroom instruction in geology prior to their visit. We have follow-up activities/exercises we encourage teachers to take advantage of.
Earthquakes and Seismology
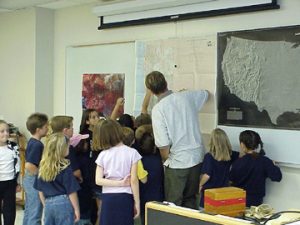 This session starts with a discussion of what the children already know about earthquakes – what happens during an earthquake and how people react. Not surprisingly, living in southern California, many of the children have been in at least a small earthquake and they are usually anxious to relate their experiences. kids looking at maps
bridge collapsed by earthquake We sometimes show a short (~5 min) video clip showing effects of the 1994 Northridge and 1989 Loma Prieta earthquakes. Before we start, we ask the kids to focus on what types of damage they observe and secondly on the reactions of people. In the follow-up discussion we talk about earthquake preparedness.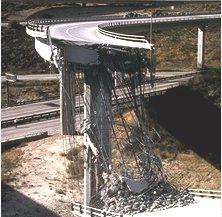
Next we have the class gather around a Fault Activity Map of California that shows the location of earthquakes faults both onshore and offshore in the California region – and which further identifies historically active faults as well as pre-historic faults which moved during the Holocene epoch of geologic time (during the last 10,000 years). The kids are asked to identify the biggest fault in California on this map (the San Andreas Fault) as well as to look for potentially active faults in the San Diego region. kids looking at maps
kids with earthquake machine The Earthquake Machine is used to demonstrate the principle of elastic rebound for the cause and recurrence of earthquakes and provide insight into the difficulty of earthquake prediction. It is also a great way for students to grain experience with experimental design, data collection, and analysis time permitting. 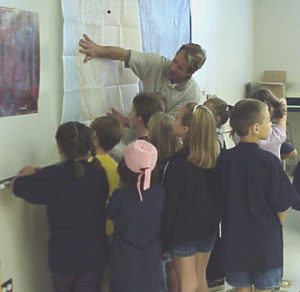 The EQ machine is based on a simple, yet elegant laboratory model, and is excellent for hands-on experiments by students. The two sides of a fault are represented by sandpaper-covered blocks resting on a sandpaper-covered board. A weight (we will use rock) rests on the block to apply a chosen amount of pressure on the sandpaper (defining the frictional strength of the fault). A spring is attached to the block and to a string, which is pulled by a take-up reel. As the string is pulled, the spring is stretched, and the length of the spring is proportional to the shear stress applied to the block. When that stress becomes greater than the static frictional stress, the block slides relieving part of the stress, and shortening the spring. We don’t use (or need) much jargon in this demonstation (e.g. “elastic rebound theory”). It it a beautiful vehicle to illustrate the unpredictable nature of earthquakes.
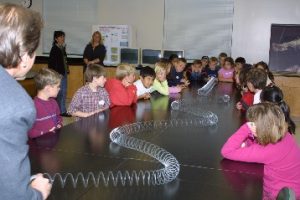 Slinkys are used to illustrate important properties of wave propagation. We then make human-waves with the kids and relate these ideas to others types of wave propagation such as sound and water waves. kids with slinky
kids at show me geology Seismograph records are examined and students learn that earthquakes occur everyday in California. We then use a small seismometer to produce our own earthquakes by jumping up and down!
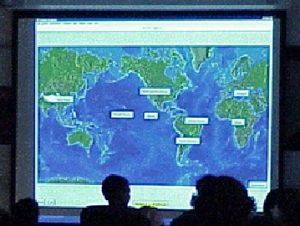 A computer program, Seismic-Eruption, illustrates many important features relating to the size, distribution, depth, and timing of earthquakes on a global, as well as local scale. Seismic-Eruptions is a free program that runs on Windows machines that can be downloaded from http://www.geol.binghamton.edu/faculty/jones/jones.html
Fossils & Geologic Time
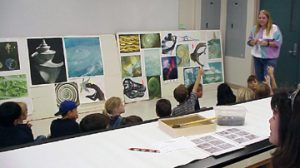
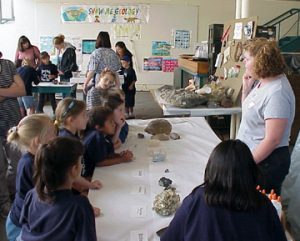
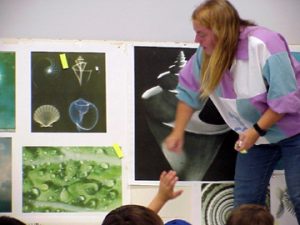 We start with the YES/NO Game which is a new constructivist learning activity being developed as part of the Show-Me-Geology program. The game centers around a series of poster-sized images of fossils and other images which are displayed around the front of the room. To begin, the instructor selects a feature which is common to some of the images (e.g. dinosaurs that walk on two feet) – but not to all of them – and then begins to classify and mark individual images as either “YES” or “NO” (we mark them with big colored “sticky notes” so it’s clear to see).
kids playing the yes/no game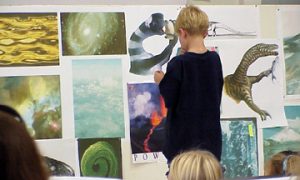
kid looking at poster
The instructor then invites students individually to try and identify images as either “YES” or “NO”. This typically evolves into an engaging game with the students leaning forward in their seats trying to figure out the “secret”.
The YES/NO game is a good because:
- it helps students develop inductive reasoning skills
- it engages students and gets them to look closely at things
- it is a very versatile game that can be easily applied to many different topics and disciplines
- it incorporates multiple learning modalities – in line with Howard Gardner’s theory of multiple intelligences
- students like it
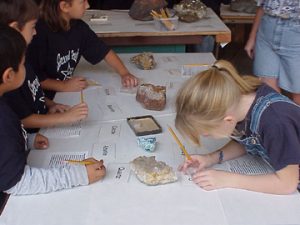
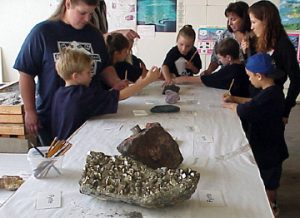
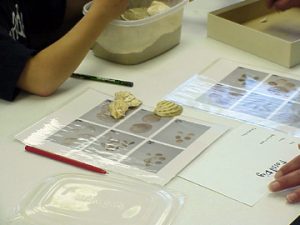 Children working in groups of 3-4 then get
 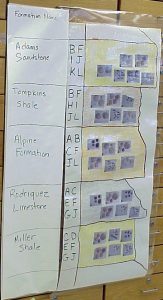 to play the role of “paleontologist” – extracting and identifying a fossil assemblage from their “outcrop”.
Fossil assemblages are matched up to a stratigraphic column to determine the age of their unit (with the different geologic formations named after their teachers!) stratigraphic column
play dough Younger kids make molds and casts of fossils using Play Dough.
YES/NO Game
 With sixth grade classes we investigate the Fibonacci Numbers, learn to construct logarithmic spirals, and recognize examples in nature.
Minerals and Rocks
 Is it animal, vegetable, or mineral? Good question, because anything that didn’t come from a plant or an animal probably came from a mineral.
 The goal is to introduce students to some of the basics of mineral science, instruct them in making basic observations, and demonstrate that minerals are intrinsic to daily life.
kids identifying minerals
kids with minerals The mineral scavenger hunt provides students an opportunity to identify important industrial minerals on the basis of physical properties and then compare the minerals to their refined products. It is surprizing to most students how different copper and aluminum ore appears versus the refined metals!
Minerals are identified and can be separated from one another on the basis of physical properties such as color, hardness, and crystal form. kids with minerals
 kids with minerals Pre-service teachers help kids identify minerals.
At Glitter Gulch students have a chance to collect and identify four different mineral specimens they can take home with them. kids at glitter gultch collecting minerals
glitter gultch mineral card The beginning of a mineral collection!
Kids experiment with three important 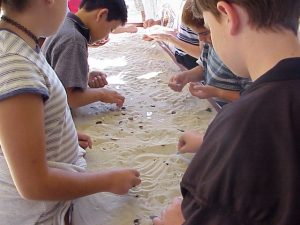 properties used to separate minerals (for example in a mining operation to concentrate ore): grain size, magnetic susceptibility, and specific gravity utilizing seives, magnets, and a sluice box. There’s also an opportunity for some good old fashioned gold panning! sluice box stream table The stream bed is used to model erosion, transport and deposition of sediment in river systems. Kids also get a
  chance to try their hand at engineering here – building dams!
Volcanoes
This session is designed to introduce students to the major types of rock materials that erupt from a volcano and relate these materials to eruptive styles and volcanic landforms.
As in the fossil unit, we start here with the YES/NO Game using a series of poster-sized images of volcanoes, lava flows, landscapes and other images
Following the YES/NO Game, we use a variety of foods to demonstrate the property of viscosity (how “runny” or “stiff” a material is) and relate this characteristic to different types of volcanic eruptions.
Next we discuss the importance of gas content in magmas and demonstrate the explosive effects this can have using a carbonated beverage. Examples of different types of volcanic rocks are passed around for the kids to look at.
Finally we present a geologic map and 3-D relief map of Hawaii. Here the kids are challenged to recognize the differences in age between the five main volcanic centers on the “Big Island” and color in their own geologic map of the island.